Kimi K2.6 API Setup Guide: From API Key to First Response on Qubrid AI
Kimi K2.6 is Moonshot AI's latest open-source model built for long-horizon coding, multimodal input, and agent swarm workflows. And the easiest way to access it via API right now is through Qubrid AI, which gives you instant serverless access without touching any GPU infrastructure.
This guide walks you through everything: account setup, getting your API key, and making your first real API call in Python.
What is Kimi K2.6?
Before the setup, a quick overview of what you're working with.
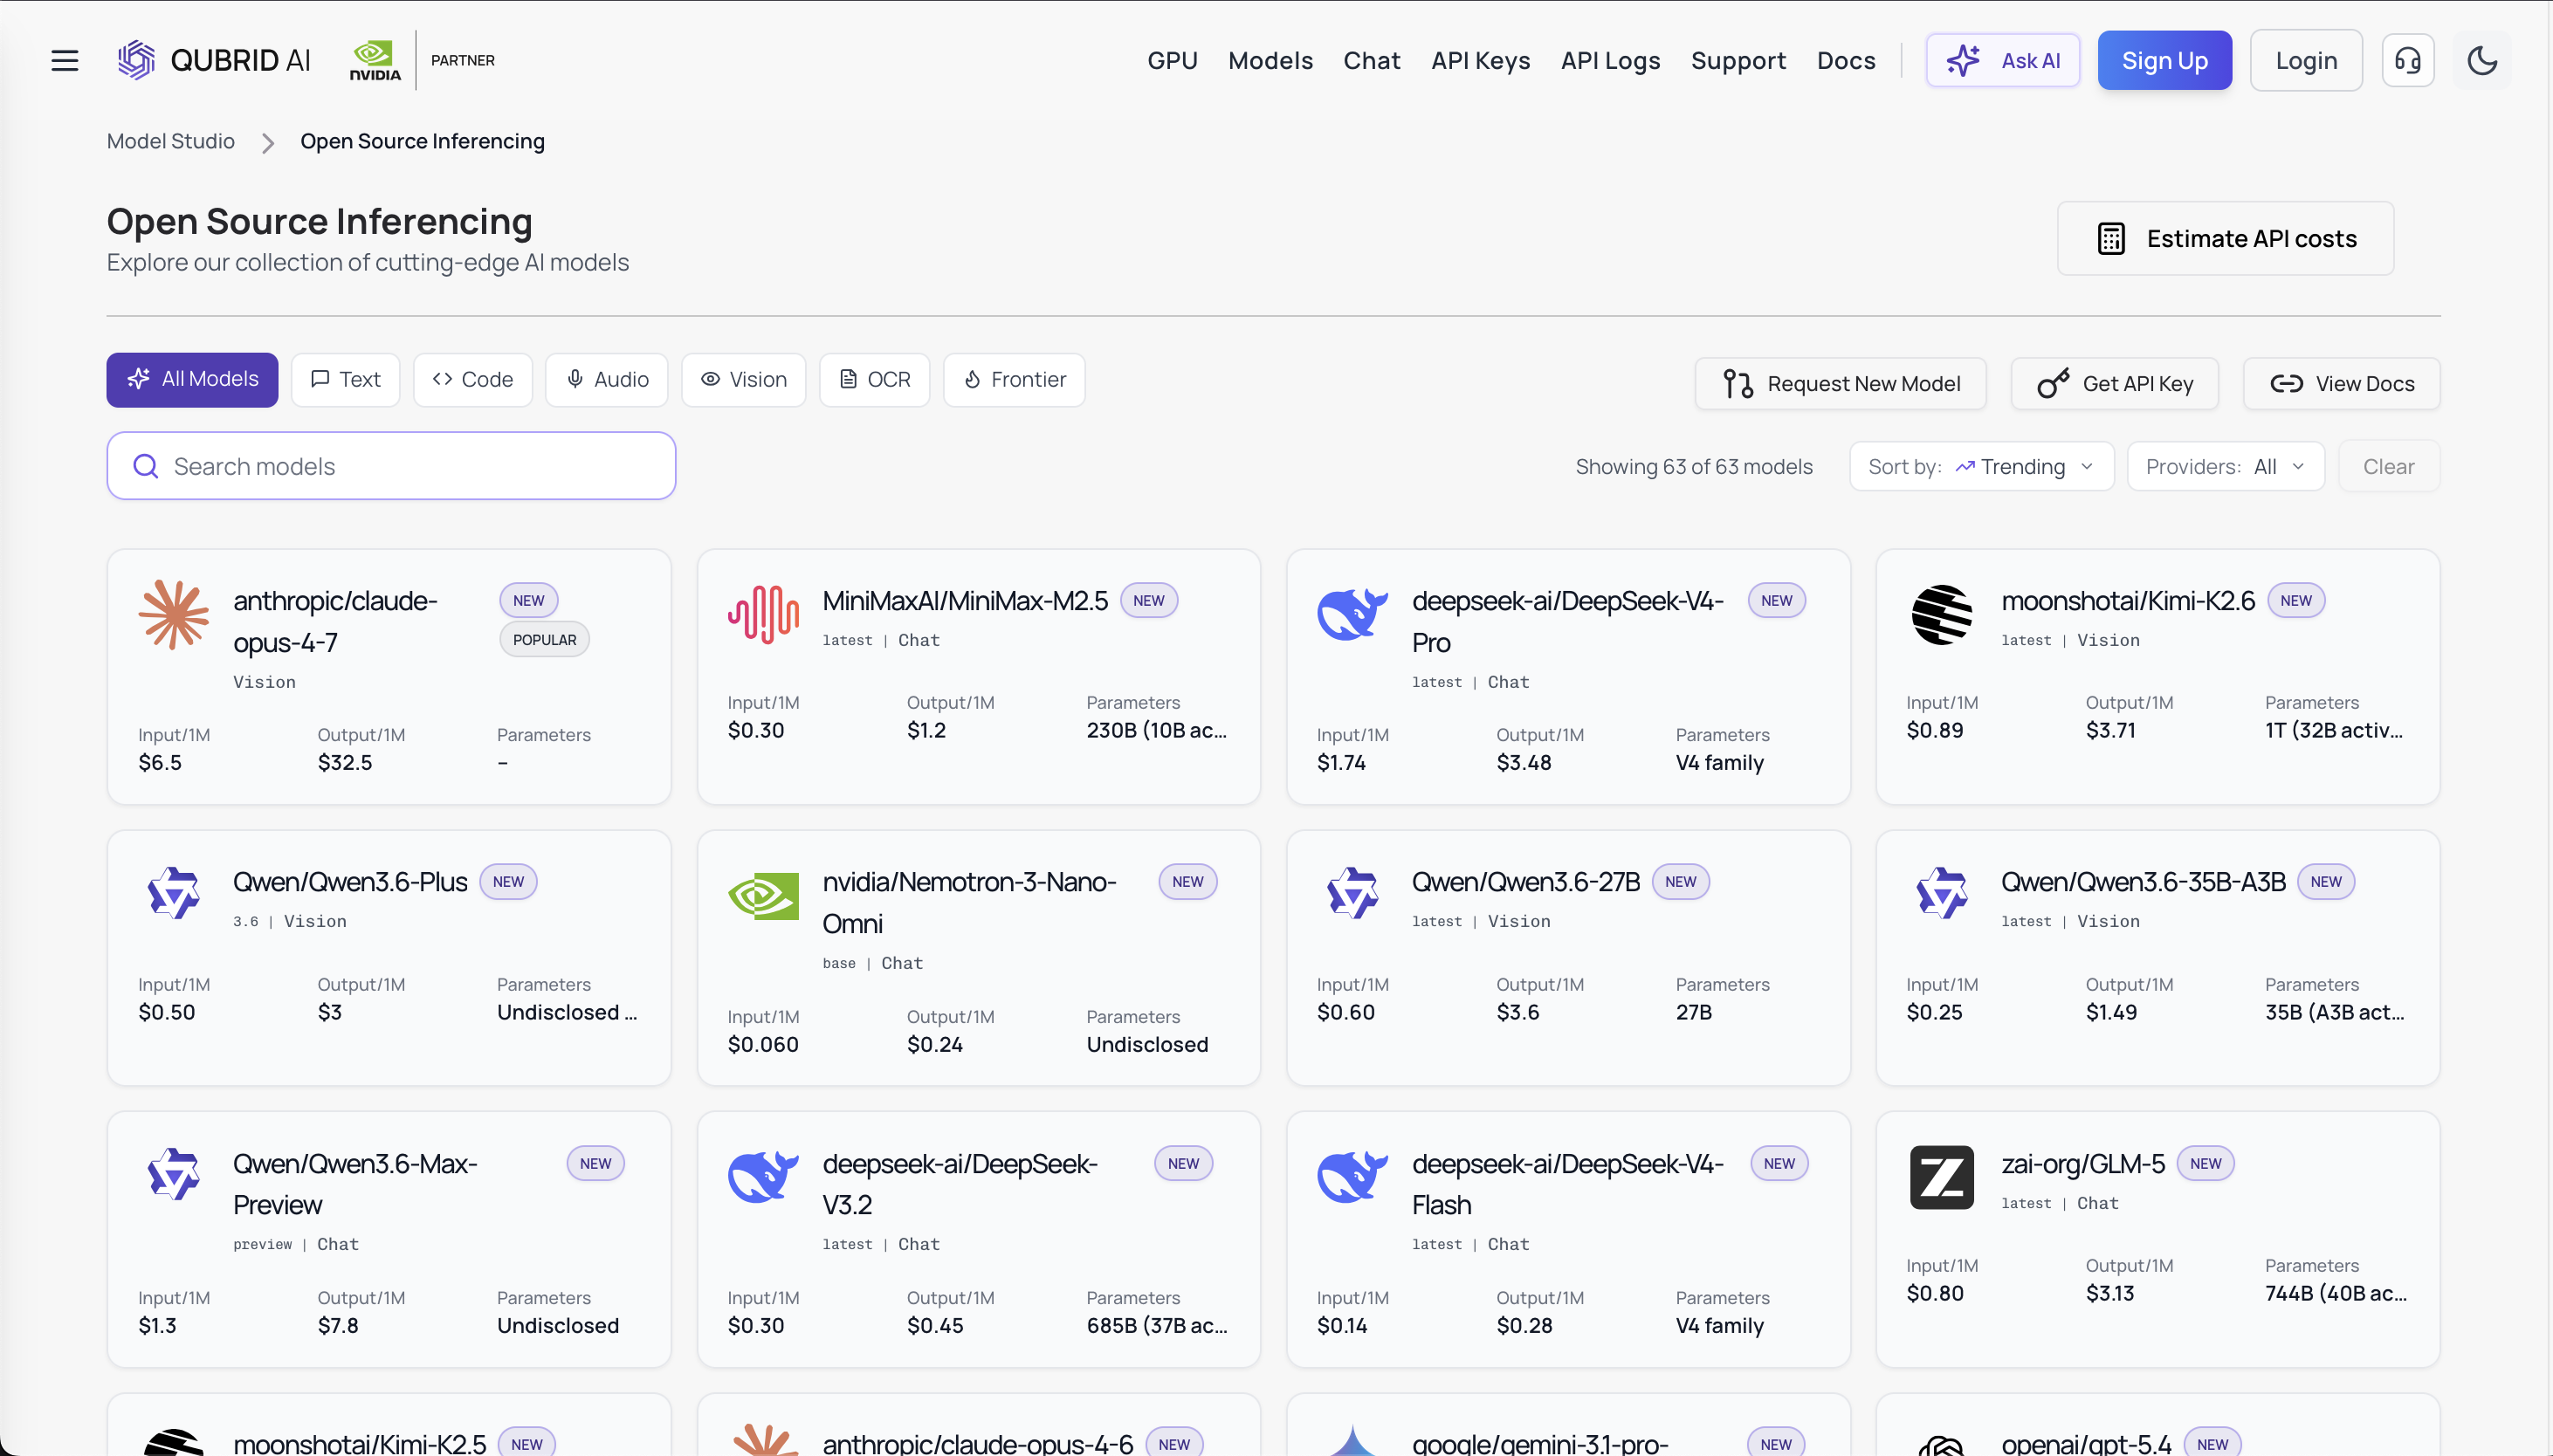
Kimi K2.6 is a Mixture-of-Experts (MoE) model with 1 trillion total parameters and 32 billion active per token. It supports a 256K token context window, native multimodal inputs (text, image, video), and an optional thinking mode for chain-of-thought reasoning. It's the same model family that can coordinate up to 300 parallel sub-agents across 4,000 coordinated steps, which puts it firmly in "serious engineering workloads" territory.
On Qubrid, it runs on NVIDIA GPU infrastructure and is accessible via a fully OpenAI-compatible API.
Try the Kimi K2.6 model directly on the Qubrid's playground: https://platform.qubrid.com/playground?model=kimi-k2.6
Step 1: Create Your Qubrid Account
Head to qubrid.com and sign up. No credit card is required at registration. Once your email is verified, your dashboard is ready immediately.
To unlock API access, you'll need to add a minimum of $5 in credits. Qubrid also credits $1 in free tokens on your first deposit, so you can start running real requests right away.
Step 2: Generate Your API Key
Go to platform.qubrid.com/api-keys, click Create New Key, and copy it somewhere safe. It won't be shown again after you navigate away.
Store it as an environment variable, never hardcode it in your source files:
bash
export QUBRID_API_KEY="your_key_here"Optional: Before writing any code, test K2.6 interactively in the browser at platform.qubrid.com/playground?model=kimi-k2.6. You can adjust temperature, token limits, and system prompts live no API key needed for the playground.
Step 3: Understand the Endpoint
The Qubrid API is OpenAI-compatible, which means if you already use the OpenAI SDK, the only change you need is swapping the base URL. Everything else stays the same.
Base URL: https://platform.qubrid.com/v1
Endpoint: POST /chat/completions
Model name: moonshotai/Kimi-K2.6
Recommended default parameters:
temperature: 0.6 for normal chat/coding, 1.0 when using thinking modetop_p: 0.95max_tokens: 16384 for standard tasks, up to 32768 for complex reasoning
Step 4: Make Your First API Call
Python
# pip install openai
from openai import OpenAI

client = OpenAI(
    base_url="https://platform.qubrid.com/v1",
    api_key="YOUR_QUBRID_API_KEY",
)

stream = client.chat.completions.create(
    model="moonshotai/Kimi-K2.6",
    messages=[
        {"role": "user", "content": "Explain what a Mixture-of-Experts model is in simple terms."}
    ],
    max_tokens=1024,
    temperature=0.6,
    top_p=0.95,
    stream=True,
)

for chunk in stream:
    if chunk.choices and chunk.choices[0].delta.content:
        print(chunk.choices[0].delta.content, end="", flush=True)

print("\n")
If you see a response streaming in your terminal, you're done. The model is live and your key works.
Bonus: Using Multimodal Input and Thinking Mode
Sending an Image
K2.6 supports native image input. Pass the image as a URL in the content array:
Python
stream = client.chat.completions.create(
    model="moonshotai/Kimi-K2.6",
    messages=[
        {
            "role": "user",
            "content": [
                {"type": "text", "text": "What's in this image?"},
                {"type": "image_url", "image_url": {"url": "https://your-image-url.com/photo.jpg"}}
            ]
        }
    ],
    max_tokens=16384,
    temperature=0.6,
    stream=True,
)
Enabling Thinking Mode
For complex reasoning tasks, enable thinking mode and set temperature to 1.0:
Python
response = client.chat.completions.create(
    model="moonshotai/Kimi-K2.6",
    messages=[
        {"role": "user", "content": "Find all prime pairs (p, q) where p² + q = 100"}
    ],
    max_tokens=32768,
    temperature=1.0,
    extra_body={"thinking": {"type": "enabled"}},
    stream=False,
)
print(response.choices[0].message.content)
To disable thinking for fast, direct answers, pass {"thinking": {"type": "disabled"}} and drop the temperature back to 0.6.
Open the Playground
Head directly to platform.qubrid.com/playground?model=kimi-k2.6 to start testing prompts with K2.6 immediately in your browser. Adjust temperature, token limits, and system prompts to explore its capabilities.

Pricing on Qubrid
Qubrid uses pay-as-you-go token billing with no idle costs:
Type | Price |
|---|---|
Input tokens | $0.89 / 1M |
Cached input | $0.18 / 1M |
Output tokens | $3.71 / 1M |
Starting deposit is $5, with $1 in free tokens credited automatically.
Wrapping Up
That's the complete setup from account creation to a live streaming response from Kimi K2.6. Since Qubrid's API is fully OpenAI-compatible, there's almost no migration cost if you're already using the OpenAI SDK. Just swap the base URL, update the model name, and you're running one of the most capable open-source models available today.
For full API docs, visit docs.platform.qubrid.com. To explore the model interactively first, the playground is at platform.qubrid.com/playground?model=kimi-k2.6.
Explore all models here: https://platform.qubrid.com/models/